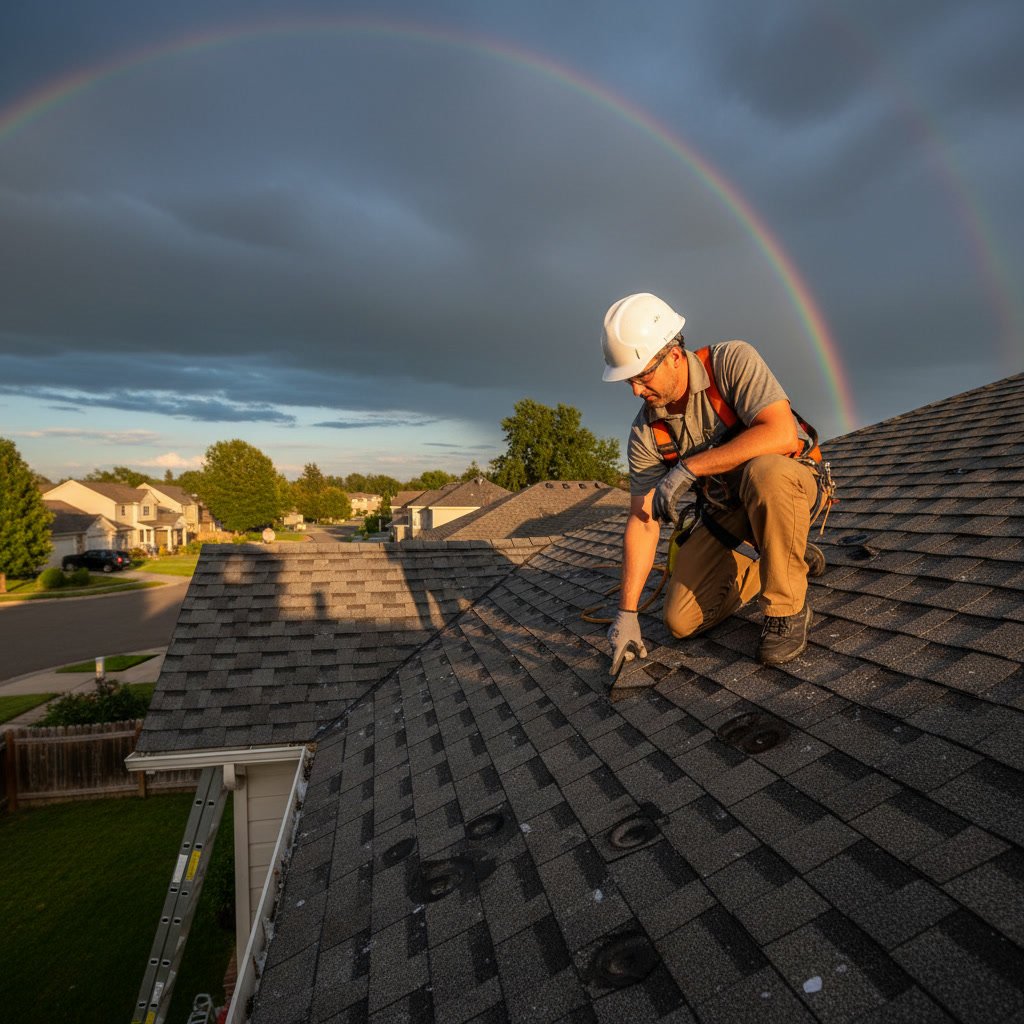
After a severe hailstorm passes through, your roof may have sustained damage even if everything looks fine from the ground. Knowing how to inspect roof storm damage quickly helps you catch problems before they lead to leaks, mold, or structural issues. A thorough inspection involves checking shingles, flashing, gutters, and other roofing components for dents, cracks, and missing materials. Documenting any damage immediately supports insurance claims and helps you decide whether repairs are necessary.
Why Hail Damage Often Goes Unnoticed
Hail damage to roofing materials doesn’t always announce itself with obvious holes or missing shingles. Small impacts can bruise asphalt shingles, weakening their protective granule layer without creating visible breaks. Over time, these bruised areas allow water penetration and accelerate aging. Metal roofing and flashing may show dents that don’t affect immediate function but compromise long-term durability. The damage becomes apparent only after repeated freeze-thaw cycles or when leaks begin appearing inside your home.
Homeowners who skip a post-storm inspection often discover problems months later when repairs cost significantly more. Early detection is especially important in North Texas, where severe weather can strike multiple times in a single season.
Understanding What Hail Does to Different Roofing Materials
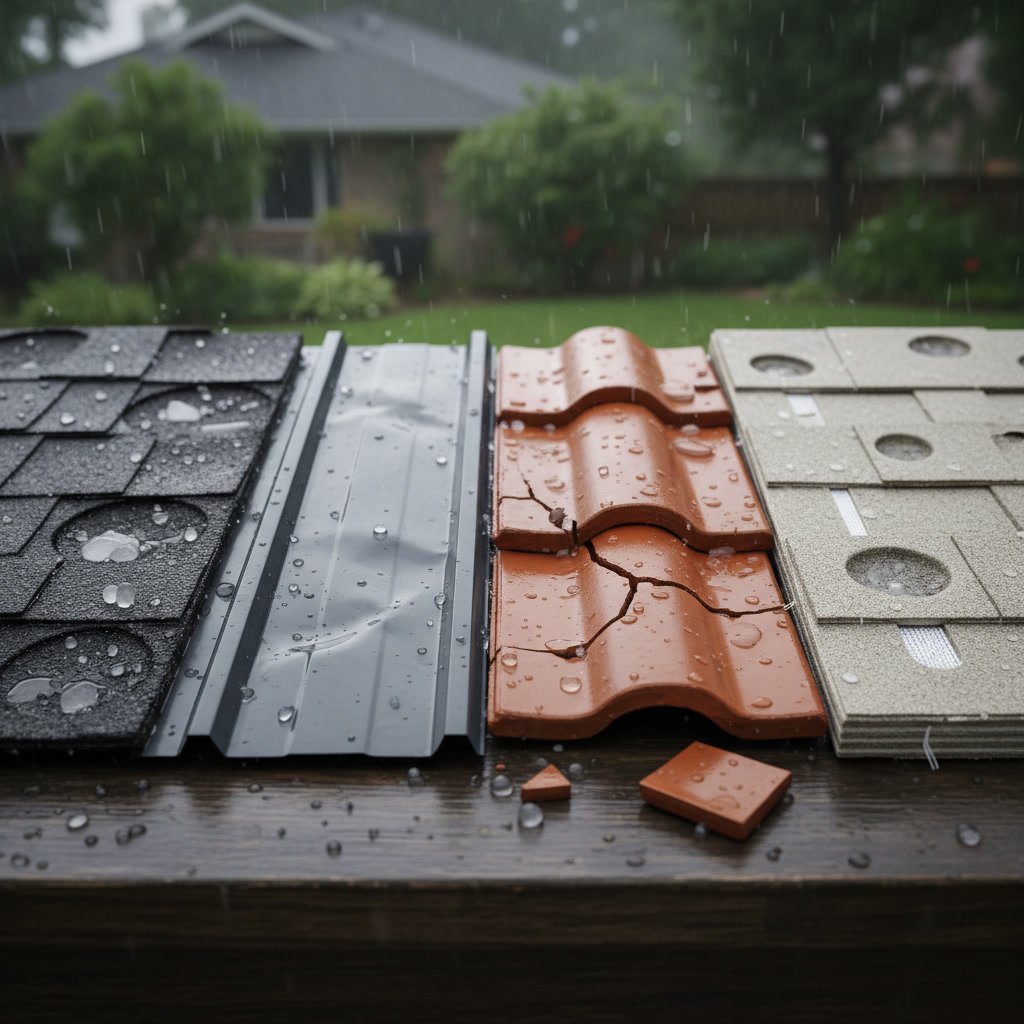
Asphalt shingles, the most common roofing material, suffer damage when hailstones larger than one inch strike with enough force to dislodge granules or crack the underlying mat. You’ll see circular divots with exposed black asphalt or a shiny appearance where granules have been stripped away. Larger hailstones, typically those exceeding two inches in diameter, can tear or puncture shingles entirely.
Wood shakes and shingles show damage as splits with sharp edges or corners. Metal roofing panels display dents that may not penetrate the surface but weaken the protective coating. Tile and slate roofing can crack or break completely, though these materials generally withstand hail better than asphalt. Understanding your specific roofing material helps you identify what to look for during your inspection.
Ground-Level Signs of Roof Damage in Plano
Before climbing onto your roof, conduct a thorough ground-level inspection. Walk around your property and look for hail damage on horizontal surfaces like air conditioning units, window sills, and outdoor furniture. Dents on these items indicate the hail was large enough to damage your roof.
Check downspouts and the ground near your foundation for an unusual accumulation of shingle granules, which appear as dark, sandy material. This granule loss is one of the clearest indicators of roof damage. Inspect gutters from ground level using binoculars to spot dents or granule buildup. Damaged gutters often signal that your roof took similar impacts.
Look at siding and trim for dings or chipped paint. If vertical surfaces show damage, your roof almost certainly sustained impacts as well. These ground-level clues help you determine whether a closer roof inspection is warranted.
Step-by-Step Roof Inspection Process
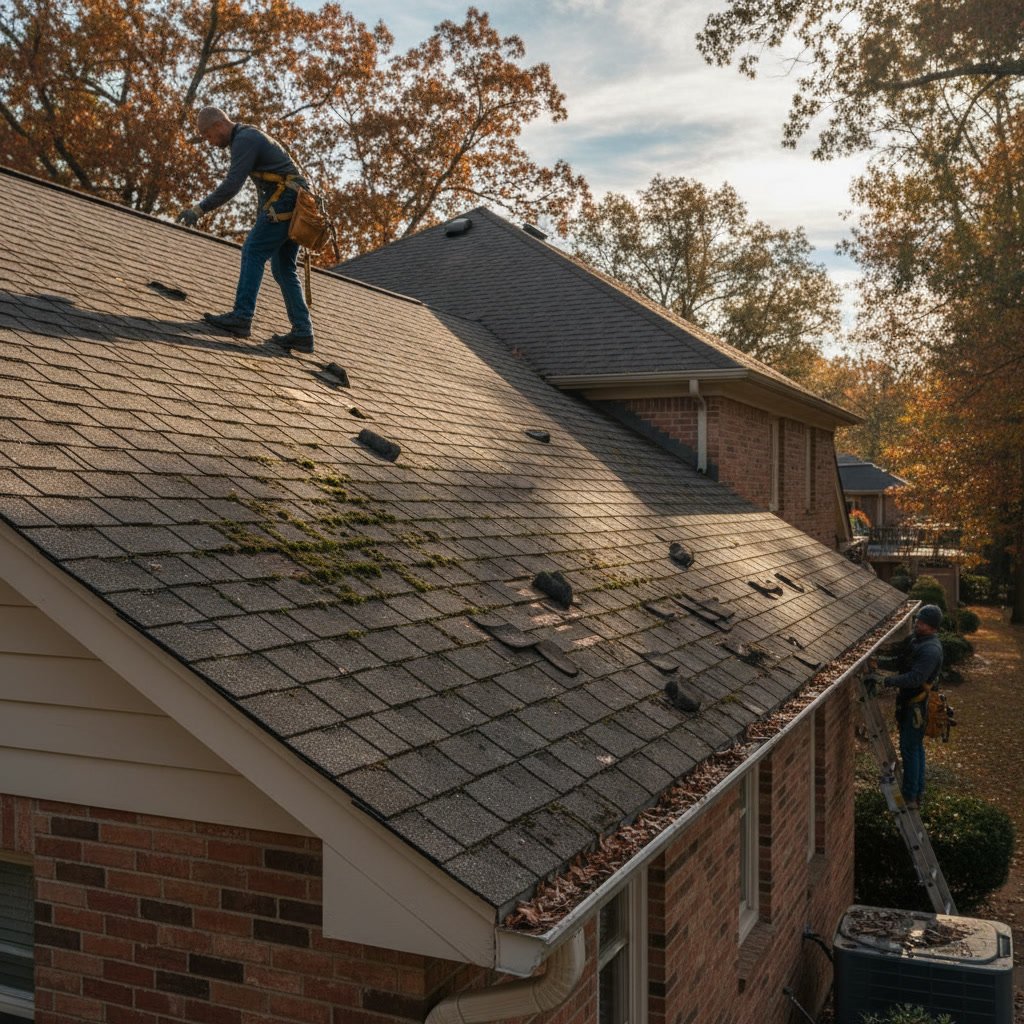
If you’re comfortable with heights and have proper safety equipment, you can conduct a preliminary roof inspection yourself. Always use a sturdy ladder secured at the base, wear shoes with good traction, and inspect only in dry conditions. Never walk on a wet or damaged roof.
Start by examining the roof from the edges, looking for missing, cracked, or curled shingles. Use your hand to gently feel for soft spots or divots in asphalt shingles. These bruises may not be visible but will feel spongy when pressed. Check the shingle tabs for breaks or tears, paying special attention to areas where shingles overlap.
Inspect all roof penetrations, including vent pipes, chimneys, and skylights. Hail often damages the flashing and seals around these features, creating entry points for water. Look for dents in metal flashing and cracks in the rubber or caulk seals. Check ridge caps along the peak of your roof, as these elevated areas take direct hits and sustain damage more frequently than sloped sections.
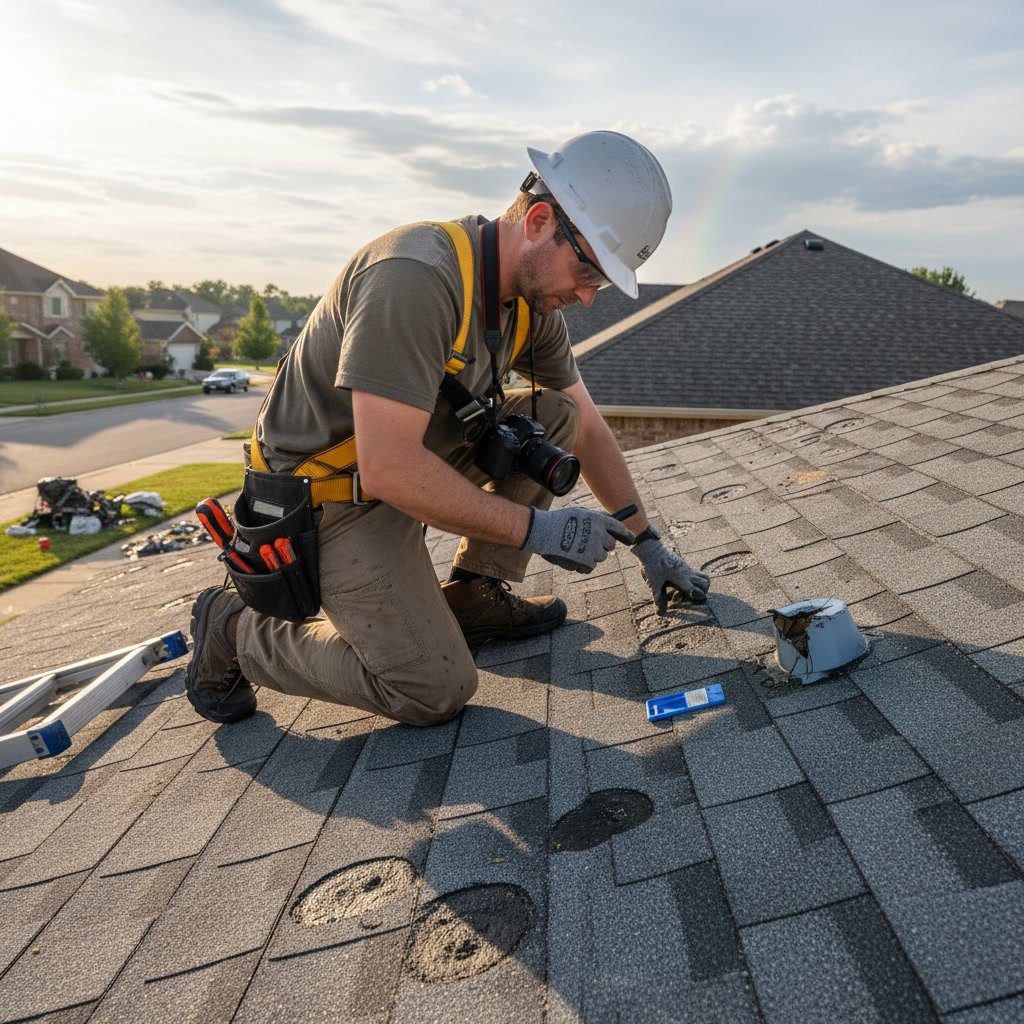
Examine valleys where two roof planes meet. These areas channel water and are critical to your roof’s performance. Damaged valley flashing or shingles can lead to significant leaks. Document everything you find with photos, including close-ups of damage and wide shots showing the affected areas in context.
What Professional Inspectors Look For
Professional roofing contractors bring expertise and tools that reveal damage invisible to untrained eyes. They use core samples to check whether hail has compromised the underlying decking or insulation. Infrared cameras can detect moisture intrusion that hasn’t yet created visible stains on your ceiling.
Experienced inspectors know that hail patterns aren’t uniform. Wind direction during the storm means one side of your roof may show heavy damage while another appears untouched. They measure the size and density of impact marks to determine whether damage meets insurance thresholds. They also assess the remaining lifespan of undamaged sections, helping you understand whether partial repairs make sense or if a full replacement is more cost-effective.
Professional inspections typically include written reports with measurements, photos, and repair recommendations. This documentation is essential for insurance claims and helps you make informed decisions about repairs.
Checking Gutters and Downspouts for Impact Damage
Your gutters take direct hits during hailstorms and often show damage before it becomes apparent on the roof itself. Aluminum gutters dent easily, with larger hailstones creating visible dimples along the trough. Check gutter hangers and brackets for loosening or separation from the fascia board, as impacts can jar these fasteners loose.
Inspect downspouts for dents and ensure they’re still securely attached. Look inside gutters for excessive granule accumulation, bent sections, or cracks at seams. Damaged gutters compromise drainage and can lead to water backing up under shingles or pooling around your foundation. If your gutters show moderate to severe hail damage, your roof likely needs attention as well.
When to File an Insurance Claim
Not all hail damage requires an insurance claim. Minor cosmetic dents that don’t affect roof function may not justify a claim, especially if your deductible is high. However, you should file when damage threatens your roof’s protective capability or has shortened its remaining lifespan significantly.
Insurance adjusters look for specific markers: shingle bruising across at least one full slope, at least eight to ten impact marks per 100 square feet, damage to two or more roof facets, and compromised flashing or penetrations. Take your own detailed photos before the adjuster arrives. Include shots with a quarter or coin next to damage for scale reference.
Most policies require you to report damage within a specific timeframe, often one year from the storm date. Late reporting can result in claim denial. Document the storm date and hail size from local weather reports. This information supports your claim and establishes that damage occurred during a covered event.
Understanding typical roof replacement costs in the area helps you evaluate whether filing makes financial sense given your deductible and potential premium increases.
Temporary Measures to Prevent Further Damage
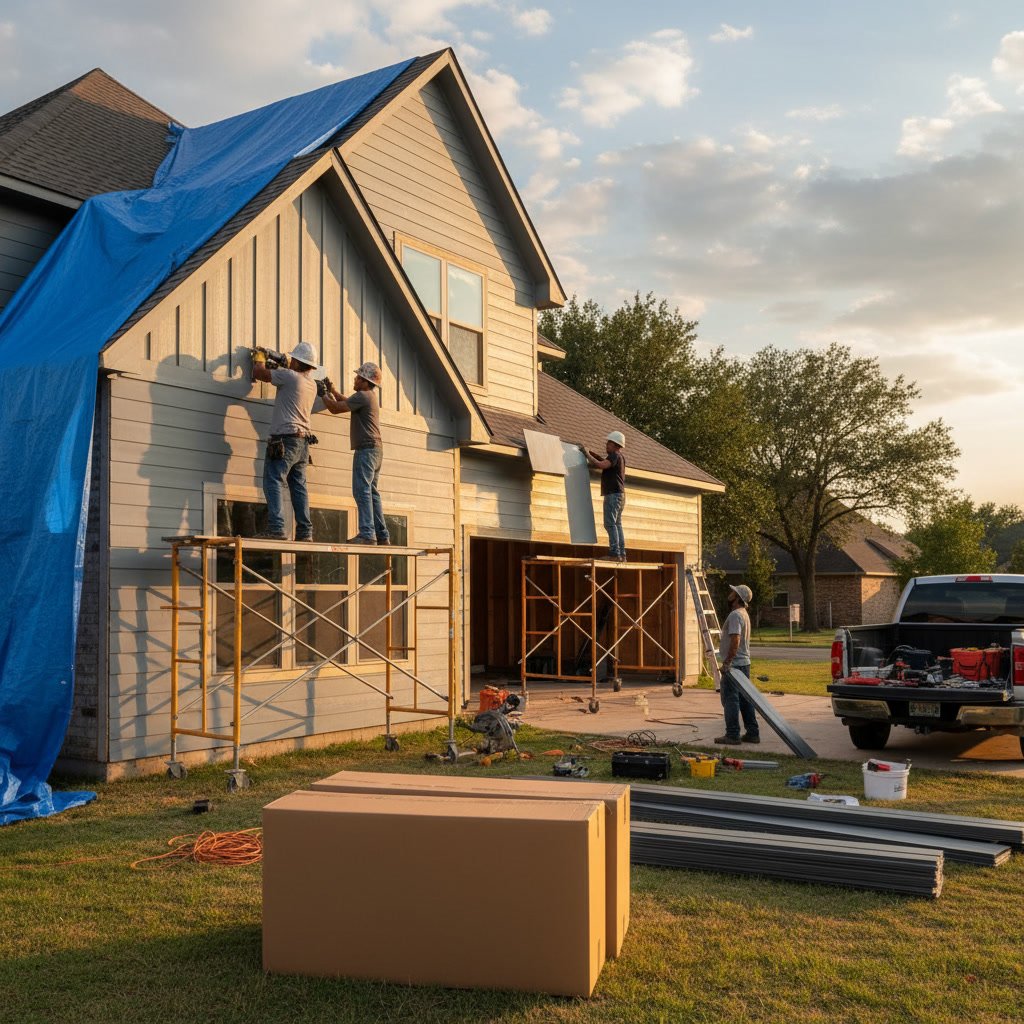
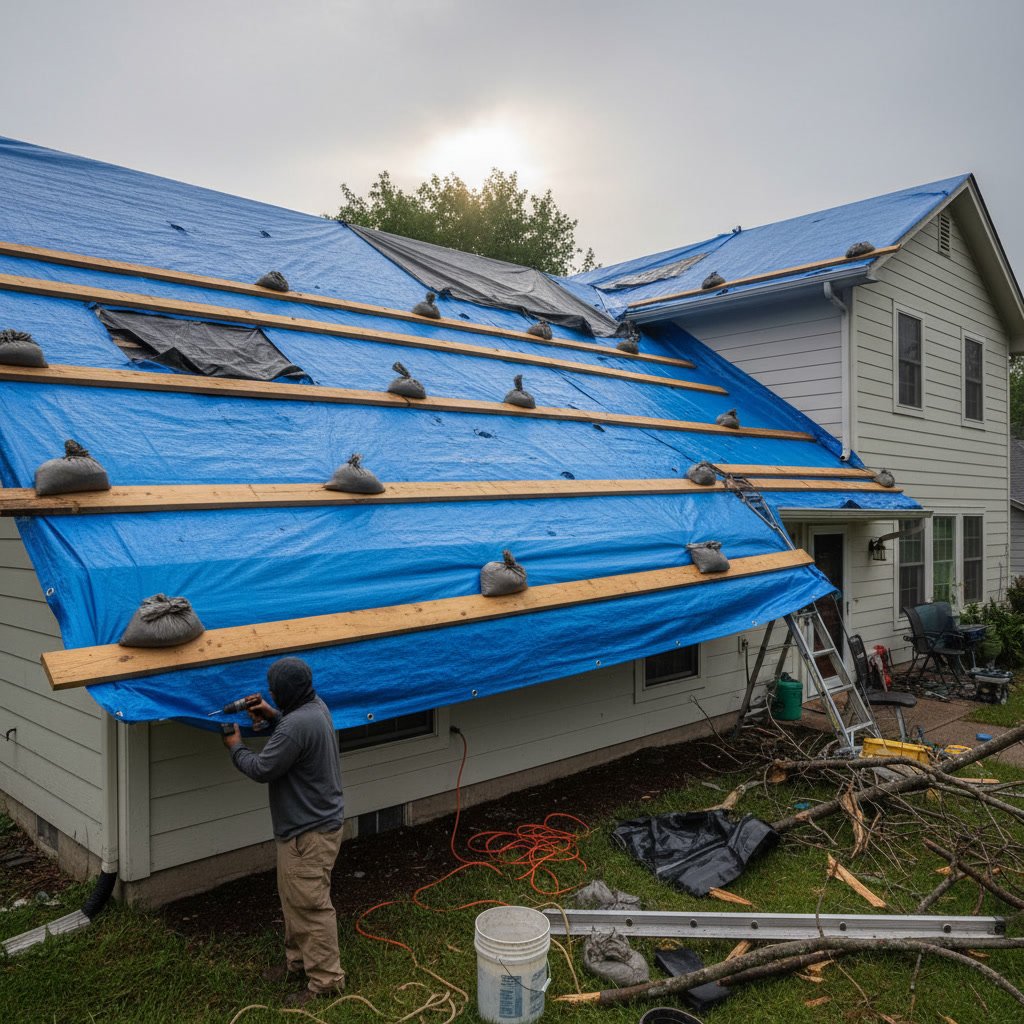
If you discover damage during your inspection, take immediate steps to prevent water intrusion while you arrange for repairs. Cover exposed areas with tarps, securing them carefully without driving nails through undamaged shingles. Use boards to hold tarps in place rather than fastening directly to compromised roofing materials.
Clear any debris from gutters and downspouts to ensure proper drainage during the next rain. Remove tree branches or other objects resting on damaged areas, as their weight can worsen existing problems. Move valuables away from areas below identified damage points inside your home.
These temporary measures don’t substitute for professional repairs but protect your property while you wait for contractors. Document your mitigation efforts with photos, as insurance companies expect homeowners to take reasonable steps to minimize ongoing damage.
Common Mistakes During Storm Damage Inspections
Many homeowners make inspection errors that either miss damage or create safety hazards. Walking directly on damaged shingles can worsen problems and create leaks where none existed. Inspecting during wet conditions risks slips and falls while making damage harder to identify.
Waiting weeks or months to inspect allows minor damage to escalate into major problems. Water may already be penetrating compromised areas, rotting decking and creating mold growth invisible from outside. Another common mistake is trusting storm chasers who knock on doors after severe weather. These contractors often lack proper licensing, provide inflated estimates to maximize insurance payouts, and may disappear before completing work.
Failing to document damage thoroughly undermines insurance claims. Take more photos than you think necessary, capturing wide context shots and detailed close-ups from multiple angles. Video walkthroughs also help establish the extent and location of damage.
Choosing the Right Contractor for Repairs
Select a contractor with established local presence, proper licensing, and insurance coverage. Check how long they’ve operated in your area and whether they maintain a physical office. Read reviews focusing on how companies handled problems and warranty claims after job completion.
Request multiple estimates and compare not just price but also materials specified, warranty terms, and project timelines. Be wary of contractors who offer to waive your insurance deductible, as this practice is illegal in Texas and indicates questionable business ethics. Ask for references from recent projects similar to yours and verify the contractor’s license status with state authorities.
Local contractors understand regional weather patterns and building codes. They’re available for warranty service and have reputations to protect in the community. Moore Construction Co. has served homeowners throughout North Texas for years, building relationships based on quality work and honest communication.
Protecting Your Home After the Inspection
Once you’ve completed your inspection and documented any damage, focus on next steps. If repairs are necessary, schedule them promptly to prevent secondary damage. If your roof survived without significant issues, consider proactive measures to strengthen it against future storms.
Regular maintenance extends roof life and helps identify small problems before they become major failures. Clean gutters seasonally, trim overhanging branches, and replace worn or damaged shingles as soon as you spot them. Annual professional inspections catch developing issues early and provide peace of mind.
Keep detailed records of all roof work, including inspection reports, repair invoices, and warranty documents. This history proves valuable when selling your home and supports future insurance claims by establishing maintenance patterns and damage timelines.
Storm damage requires quick assessment and professional attention to protect your investment and keep your family safe. Whether you need a simple inspection or complete roof restoration, Moore Construction Co. provides honest evaluations and quality workmanship backed by years of experience. Our team understands the unique challenges North Texas weather presents and delivers solutions that last. Contact us at +19728205950 to schedule your roof inspection and learn how we can help restore your home’s protection.